ProtonGE (GloriousEggroll’s Proton) is a custom version of Proton that enhances game compatibility on Linux. It includes the latest patches, improved DirectX support, and better performance for certain games. Installing ProtonGE in Ubuntu is straightforward and can greatly enhance your gaming experience.
Why Use ProtonGE?
ProtonGE is an unofficial but highly optimized version of Proton. It integrates community fixes and updates faster than the official releases. This makes it ideal for running newer Windows games on Linux with fewer issues.
Unlike the default Proton, ProtonGE often provides better DirectX support, reducing graphical glitches. It also includes FSR (FidelityFX Super Resolution), improving frame rates on lower-end hardware. If a game doesn’t work well with the official Proton, switching to ProtonGE can often resolve the issue.
How to Install ProtonGE in Ubuntu
Step 1: Install Dependencies
Before Install ProtonGE in Ubuntu ensure your system has the necessary dependencies. Open a terminal and run:
sudo apt update && sudo apt install wget tarThis ensures that you can download and extract the ProtonGE files properly. Keeping your system updated also prevents compatibility issues.
Step 2: Download ProtonGE
ProtonGE is available on GitHub. Visit GloriousEggroll’s Proton GitHub page and download the latest version. You can also use the terminal:
wget https://github.com/GloriousEggroll/proton-ge-custom/releases/latest/download/proton-ge.tar.gzReplace the URL with the latest release link if necessary. The downloaded file will be a compressed archive.
Step 3: Extract and Move ProtonGE
Once the download is complete, extract the file and move it to the Proton directory:
tar -xvf proton-ge.tar.gz

mkdir -p ~/.steam/root/compatibilitytools.d

mv GE-Proton* ~/.steam/root/compatibilitytools.d/
This places ProtonGE in the correct directory for Steam to recognize it. Ensure the extracted folder has a correct naming format to avoid issues.
Step 4: Enable ProtonGE in Steam
Now, open Steam and go to Settings > Steam Play. Under Advanced, enable Steam Play for all titles. Click on Compatibility Tool and select the newly installed ProtonGE version.
Restart Steam to apply changes. Your installed games will now have ProtonGE as an option for compatibility.
Verifying ProtonGE Installation
To check if ProtonGE is active, right-click a game, select Properties, and go to Compatibility. If ProtonGE appears as an option, it is installed correctly. Try launching a game to confirm proper functionality.
If you face issues, ensure that your GPU drivers are up to date. Run:
sudo apt install mesa-vulkan-driversThis command installs Vulkan support, improving game performance. Restart your system after installation.
Updating ProtonGE
ProtonGE updates frequently with new patches. To update, delete the old version from
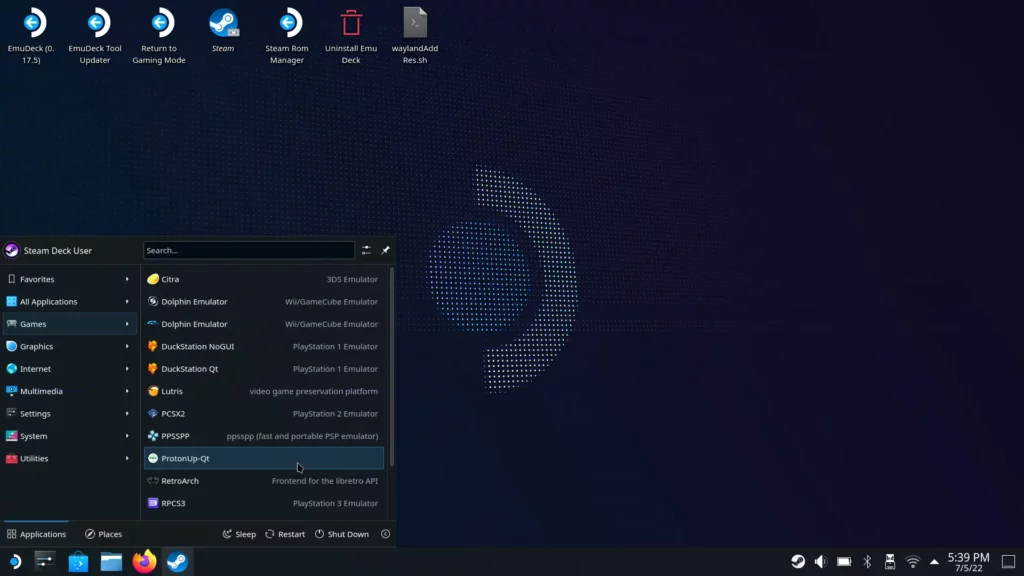
~/.steam/root/compatibilitytools.d/ and repeat the installation steps with the latest release.For automated updates, use ProtonUp-Qt, a GUI tool that makes managing ProtonGE easier. Install it with:
sudo add-apt-repository ppa:cybermax-dexter/sdl2-backport

sudo apt update && sudo apt install protonup-qt
This tool allows you to update ProtonGE with a single click.
Conclusion
Installing ProtonGE in Ubuntu enhances Steam Play by improving game compatibility. It provides faster updates and fixes compared to the official Proton releases. By following the steps above, you can easily install and maintain ProtonGE, ensuring a better gaming experience on Linux.
If you experience issues, check the ProtonDB community for specific game fixes. Keep your system updated to avoid compatibility problems and enjoy seamless gaming on Ubuntu.
 Jennifer Grey Then & Now!
 Shaun Weiss Then & Now!
 Amanda Bearse Then & Now!
 Andrew McCarthy Then & Now!
 Dawn Wells Then & Now!